We offer 3D CAD modeling service with our team of engineers having rich experience in engineering and technology. Our company has a designing experience of over more than 25 years and we have been serving quality 3D CAD data to industry leaders and manufacturers.
Be it machine tool design or advance surfacing, our team of engineers have specialties in each and every segment.
3D Laser scanning with Photogrammetry
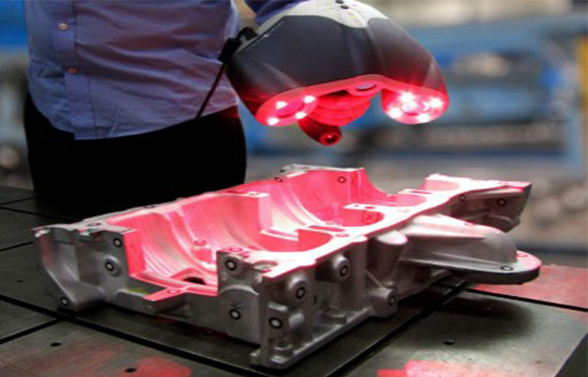
Laser scanners are portable metrology‑grade 3D scanner. Optimized to meet the needs of design, manufacturing and metrology professionals.
This fast and versatile handheld 3D scanner is easy-to-use and generates highly accurate and repeatable results—even in difficult environments and with complex surfaces.
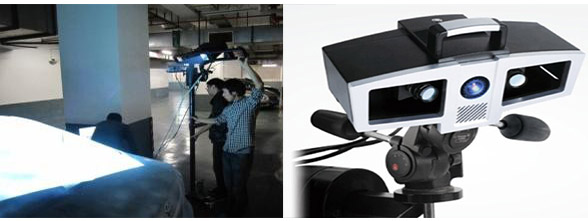
Scanning large-size objects can be challenging as errors accumulate over a certain distance during measurement. By integrating photogrammetry with 3D scanning, we can enhance the speed and accuracy of data collection and the 3D modeling process.
Photogrammetry is a measuring technique that takes photographs from different perspectives to obtain 3D coordinates. Specifically speaking, it extracts geometric information by triangulating the locations of points on the subject.
Photogrammetry software can find characteristic points that are repeated in photos. The distance of these points can be inferred using triangulations. The more photos we take from different angles, the more accurate these locations are. Finally, these points would be converted into a mesh and a 3D model.
Application- Most 3D scanners on the market are capable of scanning objects whose sizes are within a range of 1 m, while it is difficult for these 3D scanners to scan large-scale objects like wind turbines, planes, and buildings. There is where photogrammetry comes in. E.g.- Construction, Shipbuilding, Aerospace, Automotive, Heavy Engineering and many more.
Blue Light Scanning
Based on industry demands, we have an innovative scanner that integrates blue LED light and blue laser into handheld 3D scanner. The hybrid laser and LED light sources makes scanning compatible with a wider range of object sizes, meeting multiple needs of users.
Jewelry scanning
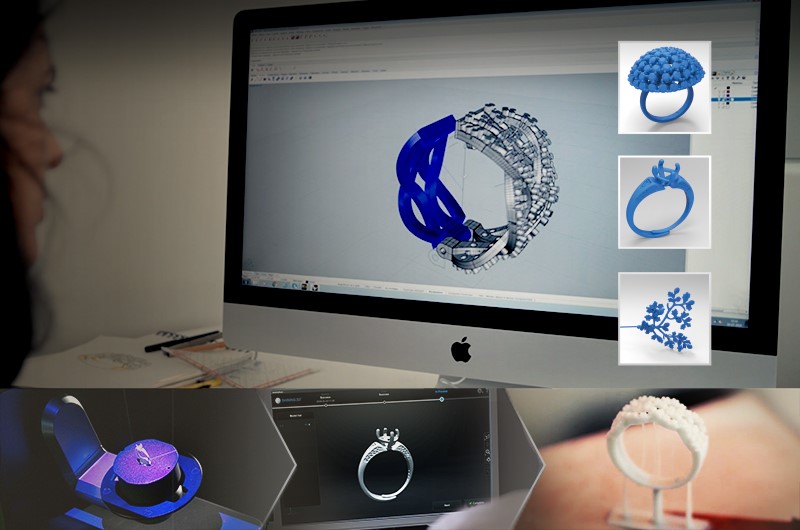
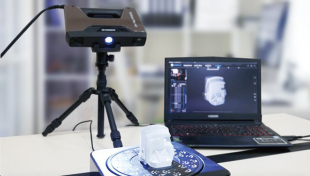
Our automatic desktop 3D scanner is designed exclusively for capturing precise and detailed 3D scans of jewelry pieces in seconds. Integrating AI intelligent scanning algorithm, high precision and simplicity of use, AutoScan Sparkle provides jewelry designer an easy method of transforming jewelry into digitized format that can be used in any CAD/CAM software, saving both time and money in design and production processes
Key Features
- Automatic Scanning
- Highly precise- Accuracy within 10μm
- Fine Details- Provides precisely detailed 3D scan for small and complex objects using dual-camera of 5 mega pixels.
Applications
- Jewelry Design
- Jewelry Replication
- Jewelry Repair
- 3D Printing & Precision Casting
Long Range Laser Scanning
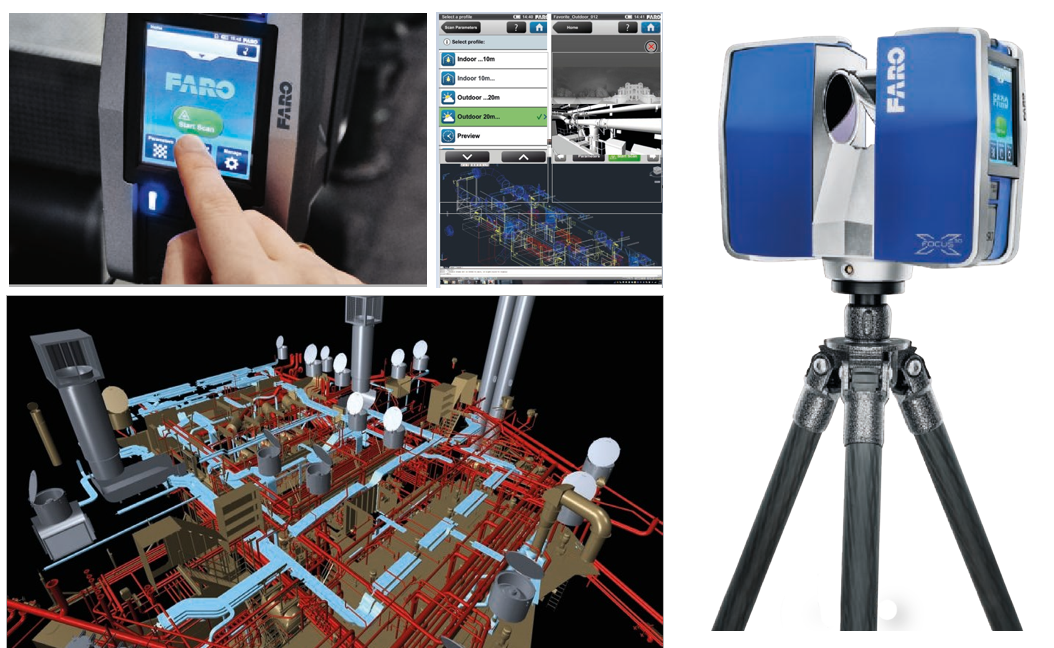
FARO Focus Laser Scanners are specifically designed for both indoor and outdoor measurements in industries such as Architecture, Engineering, Construction, Public Safety and Forensics or Product Design.
All devices capture real world information used in the digital world to analyze, collaborate and execute decisions to improve and maintain the overall project and product quality.
The Focus Laser Scanner series offers advanced functionality. In addition to increased distance, angular accuracy, and range, the Focus S and Focus S Plus scanners’ on-site compensation function ensures high-quality measurements, while external accessory bays and HDR functionality make the scanner extremely flexible.
Benefits
- Confidence in documented data-quality by traceable calibration and market-leading on-site compensation.
- Scan in challenging environments while providing protection from dust, debris and water splashes. Mount the FocusS scanner in an inverted position, such as under a ceiling of a hall.
- The Focus Laser Scanner portfolio offers the most economic 3D scanning solution for all requirements and budgets.
- Minimum training effort is ensured by the intuitive and easy to operate touch-screen interface as well as hands-on and online tutorials.
- Efficient integration into existing software infrastructures and workflows are provided by interfaces to various standard CAD systems.
White light scanning
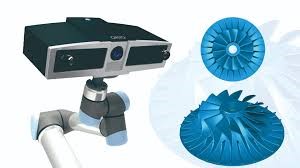
You can now scan objects ranging from 20mm to 4meters with our multi-functional range of white light scanners.
We provide customers with the best industrial accuracy starting from 35 Microns.
Having two scan modes, both steady and handy, we have no limitations on our scanning services.
Human body scanning using this technology can now be performed in less than 3 Minutes.
© Solidvision. All rights reserved.

