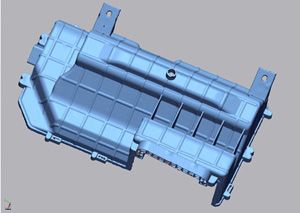
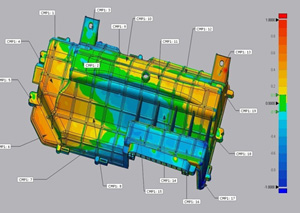
In the realm of modern manufacturing and engineering, the demand for precision and accuracy is paramount. 3D scanning and inspection technologies have emerged as essential tools to ensure quality control, reverse engineering, and design optimization. This article delves into the applications of 3D scanning in 3D inspection and outlines the process of performing 2D inspections using a portable Coordinate Measuring Machine (CMM).
3D Scanning for 3D Inspection: 3D scanning is a non-contact technology that captures the complete surface geometry of an object in three dimensions. It offers a plethora of applications for 3D inspection:
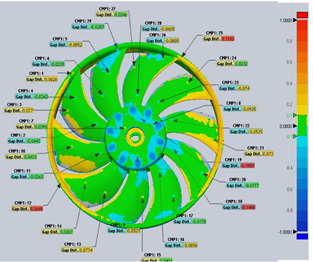
- Quality Control and Defect Detection: 3D scanning enables the thorough inspection of manufactured parts for defects, deviations, and imperfections. By comparing the scanned data to the original design specifications, manufacturers can identify discrepancies and take corrective actions.
- Geometric Dimensioning and Tolerancing (GD&T): GD&T involves specifying allowable deviations in a part’s geometry to ensure it functions properly within an assembly. 3D scanning provides accurate data for assessing GD&T compliance, ensuring parts meet precise tolerances.
- First Article Inspection (FAI): When introducing a new part or design, FAI involves a comprehensive inspection to ensure it matches design intent. 3D scanning expedites FAI by rapidly capturing the part’s geometry and facilitating comparison against CAD models.
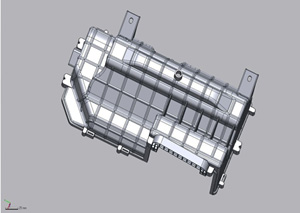
- Reverse Engineering: 3D scanning plays a pivotal role in reverse engineering by creating digital models of existing physical objects. This is especially useful when recreating legacy parts, improving designs, or generating CAD models from prototypes.
- Comparative Analysis: By superimposing 3D scan data onto CAD models, engineers can perform a detailed comparative analysis to identify deviations, overcuts, undercuts, and surface finish variations.
2D Inspection Using Portable CMM: Portable Coordinate Measuring Machines (CMMs) are versatile tools for performing accurate 2D inspections. Here’s how they work:
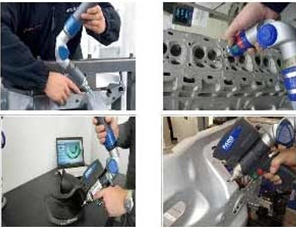
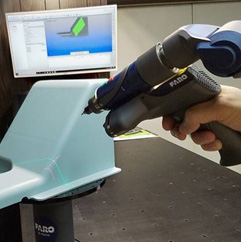
- Setup: A portable CMM consists of a handheld probe or a touch-trigger probe attached to a moveable arm. To perform a 2D inspection, the CMM is positioned near the part of interest, and the probe’s tip is brought into contact with specific measurement points.
- Point Acquisition: The operator manually guides the CMM’s probe to touch predefined points on the part’s surface. These points are strategically selected based on the part’s geometry and inspection requirements.
- Measurement: When the probe touches a measurement point, the CMM records its spatial coordinates. These coordinates are then compared to the expected dimensions derived from the design specifications.
- Data Analysis: The collected data points are used to create a graphical representation of the part’s profile, which can be compared to the intended 2D design. Deviations are easily identified, allowing for corrective actions to be taken.
- Reporting: The inspection results are compiled into a comprehensive report detailing the measured dimensions, deviations, and any necessary recommendations.
We use specialized software for Scan to CAD inspection to give our customers a complete comprehensive report on the deviation analysis.
© Solidvision. All rights reserved.

